


1. If your display doesn’t show any light or the light is changing from red, yellow and green by itself, this can be due to the way the display is mounted or how it is touching the metal plate and thus creating a short circuit. Please follow these steps:
a) Disconnect the stove from all electricity by unplugging the power plug.
b) Follow step 4.a to remove the display. Please check if the cable is sitting properly.
c) Remount the display correctly. It is important that the solderings of the display are not in contact with the steel plate as this can create short circuits.
2. If you followed step 1 and your display keyboard is defect and needs to be replaced, please follow these steps:
a) Disconnect the stove from all electricity by unplugging the power plug.
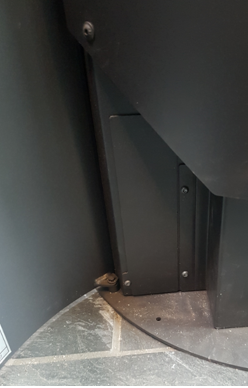
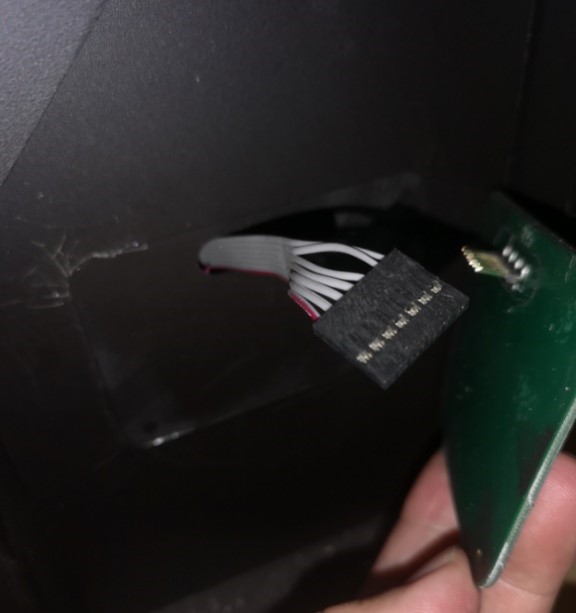
b) Locate the control board. The entrance for the control board can be found in the stove’s bottom left corner. See pictures below. Unscrew the two screws and pull the control board slowly out.
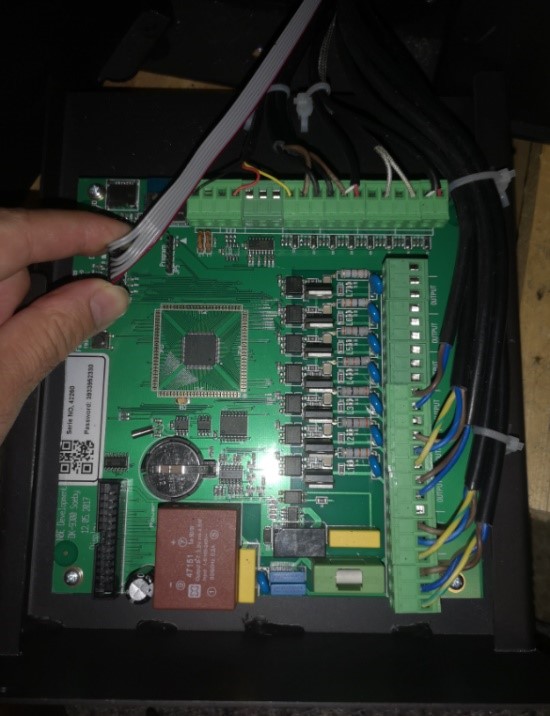
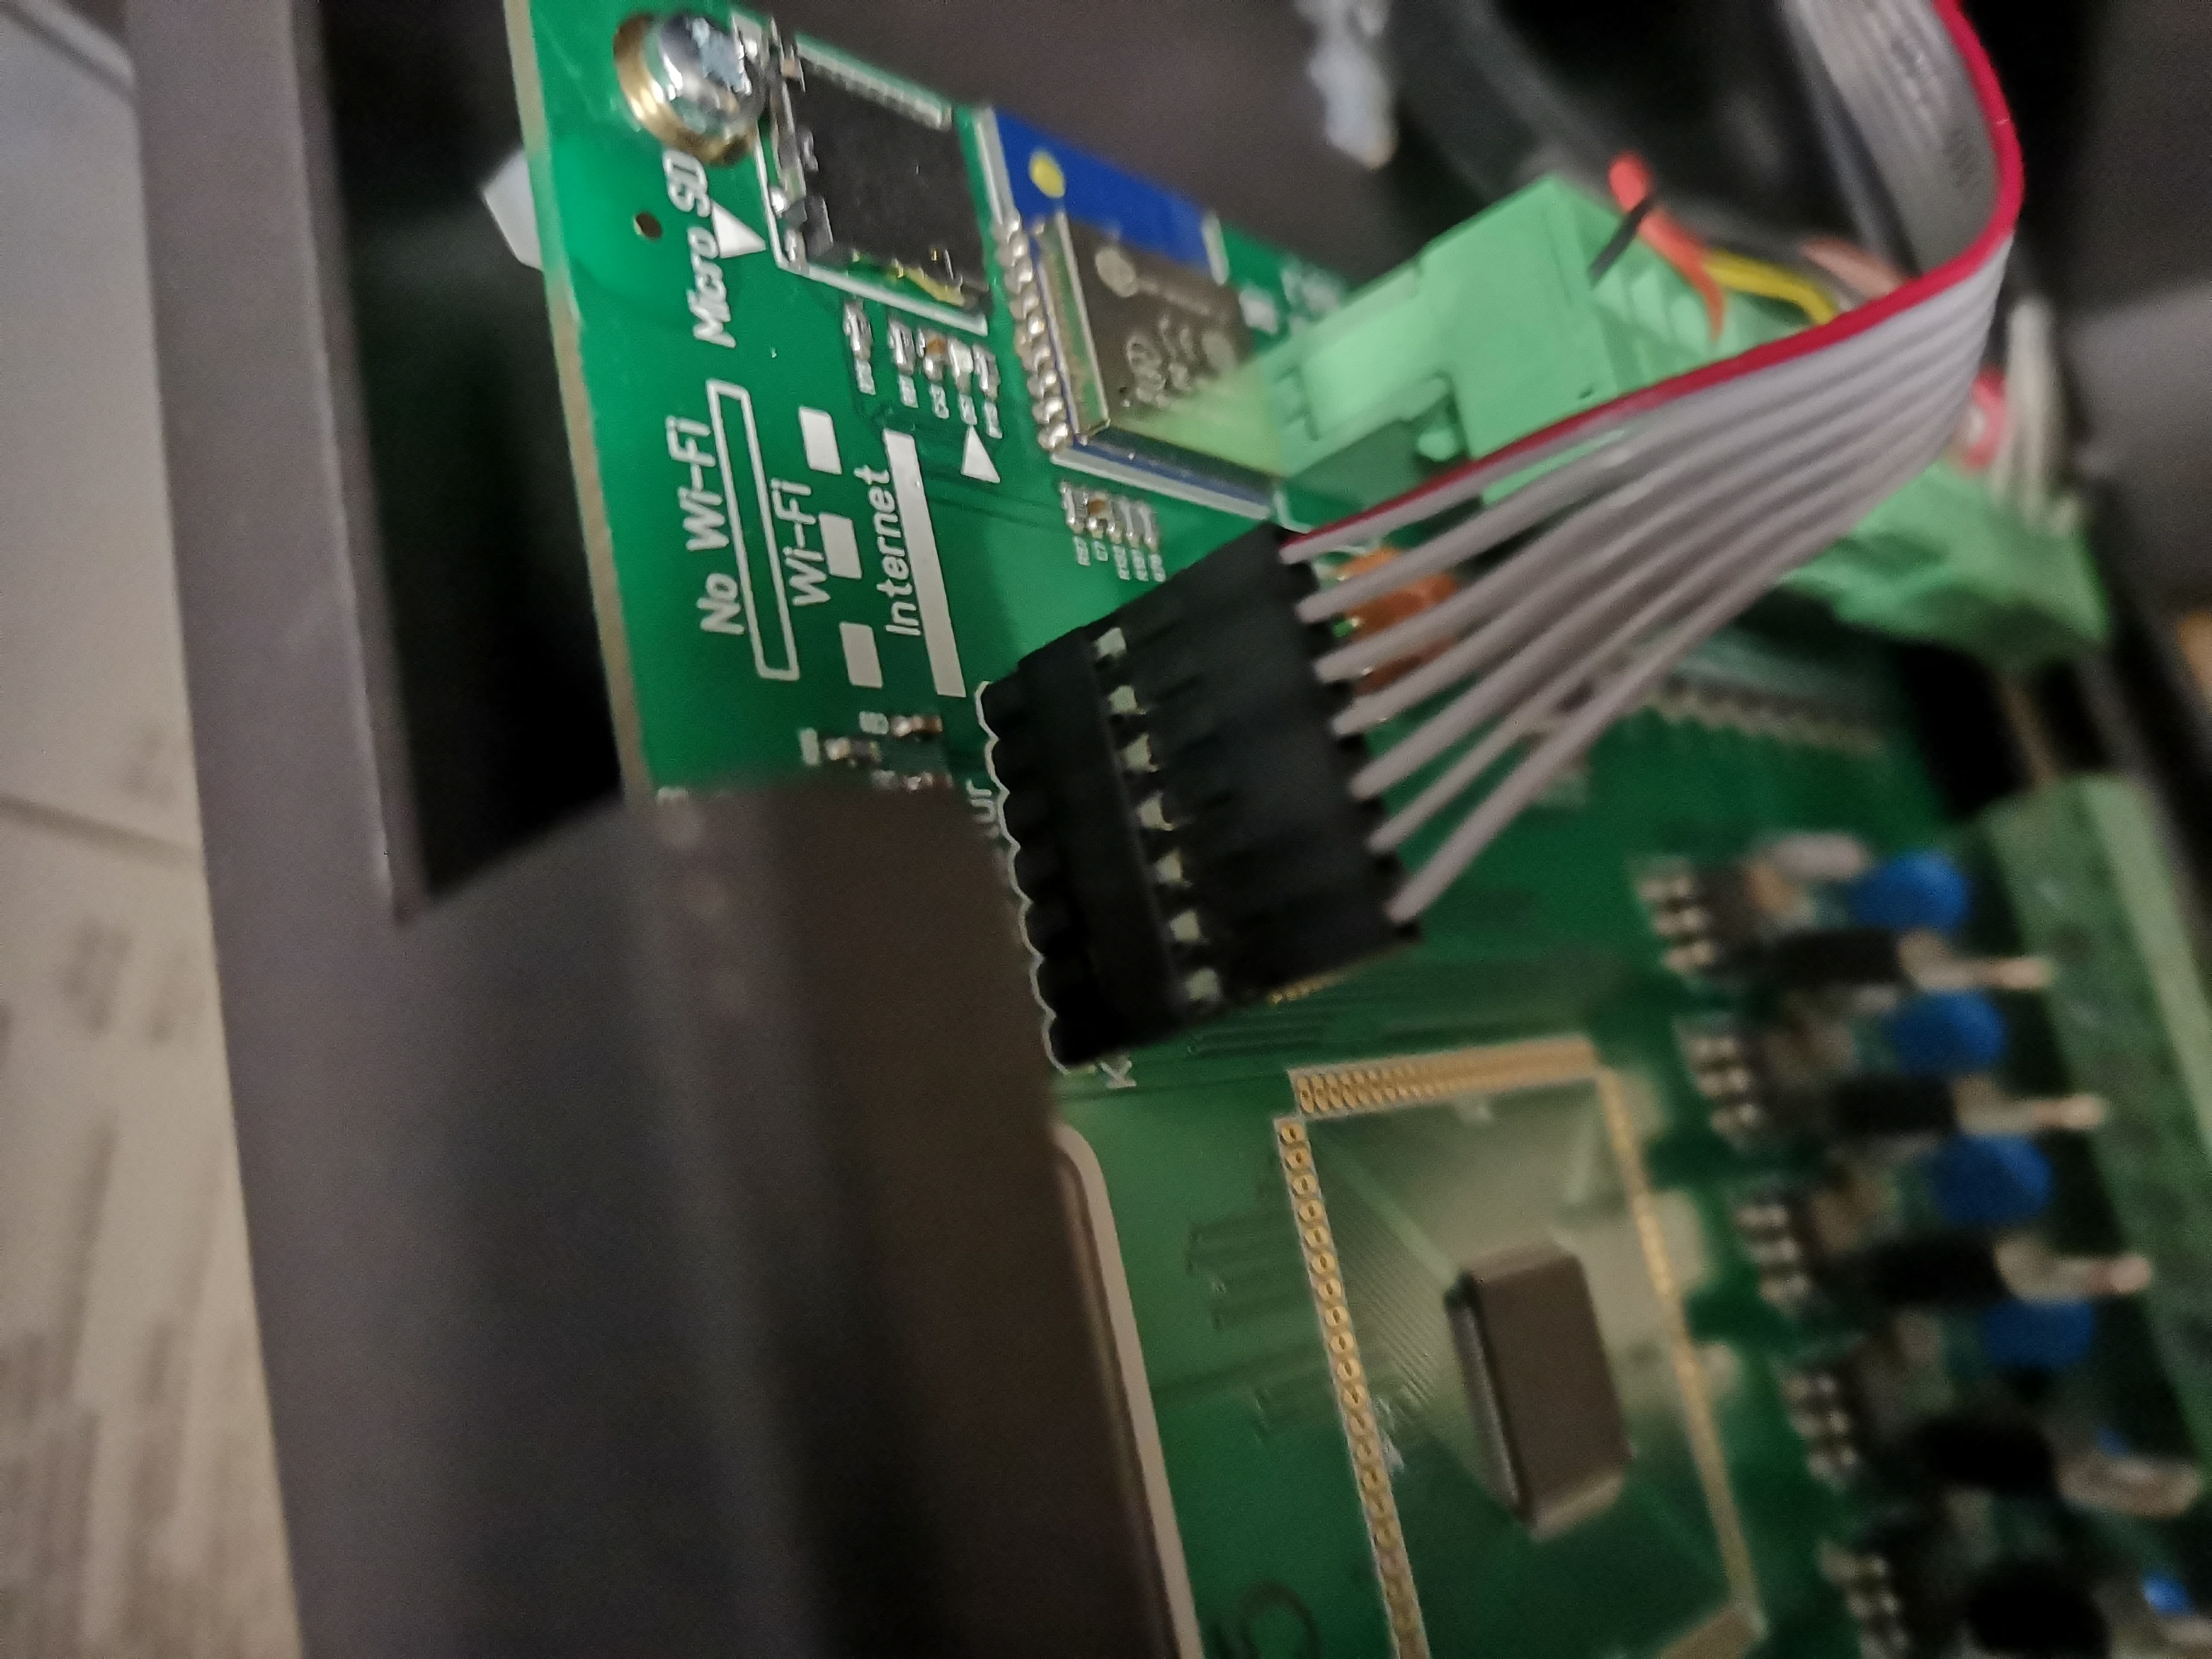
3. Once you have taken the control board out:
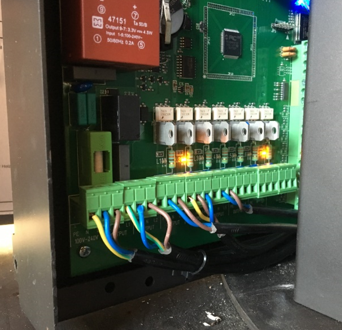
a) Check if the display cable is sitting properly on the control board. If not, this can be the reason why it is not working.
b) If you can confirm that it is sitting properly, please unplug the cable like shown in the picture below.
4. Once you have unplugged the display:
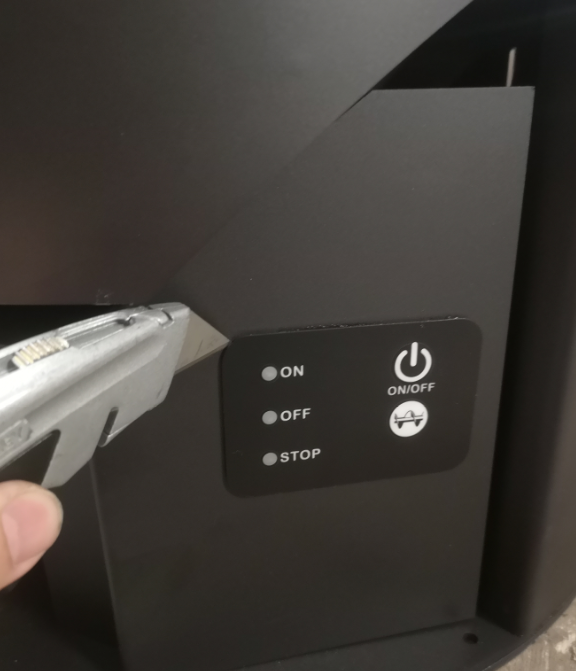
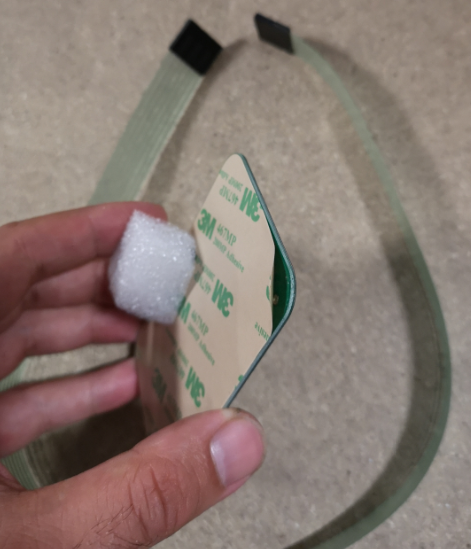
a) Remove the display keyboard by using a sharp tool, e.g a knife. The display is glued on to the stove so it can easily be removed.
5. Once the display has been removed, you will see the other end of the display cable. Now you can follow these steps:
a) Unplug and remove the defect display keyboard and the cable.
b) Replace both with the new parts.
c) Attach the cable behind the new display keyboard and follow the other end of the cable all the way to the control board. The new display keyboard can easily be glued back on where the old display used to be.
6. Once the new parts are in place:
a) Put the power plug in again and check the light on the new display.
b) If the light on the display is “noticeable weak”, it indicates that the display cable is sitting in a wrong direction. Turn the cable 180 degrees when you insert it on the display and on the control board. Below you can see a picture that indicates the correct direction (direction 1).

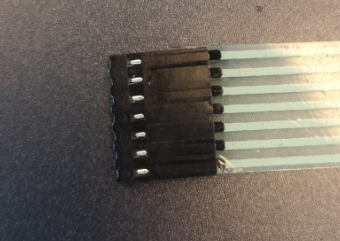
Direction 1 Direction 2
Use Direction 1 when plugging in the cable to the display keyboard (there are two types of cables. Please notice the direction of the cable depending on which cable type you have):
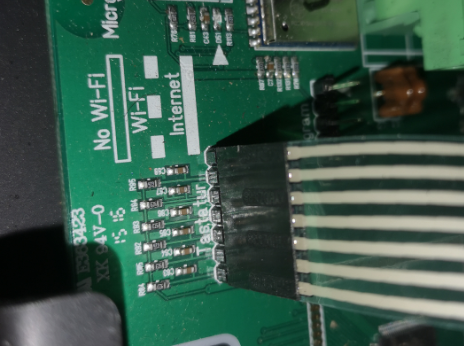
Direction 1 when plugging in the cable to the control board:
c) Place the control board back into the stove and screw the 2 screws in its place. Make sure to put some tape around the hole for the display like show on the picture below in order to make sure short circuit doesn’...